Saturday, September 7, 2013

INCOCO Nail Applique Review + Giveaway

INCOCO contacted me about reviewing their nail polish strips about a month ago, needless to say I jumped at the opportunity.


These are the three shades I picked.
MINT MOJITO, PARADISE FOUND and SHOW OFF.(left to right)


They also sent me a book with all their shades, a file and orange
stick, nail polish removing cloth and a card.


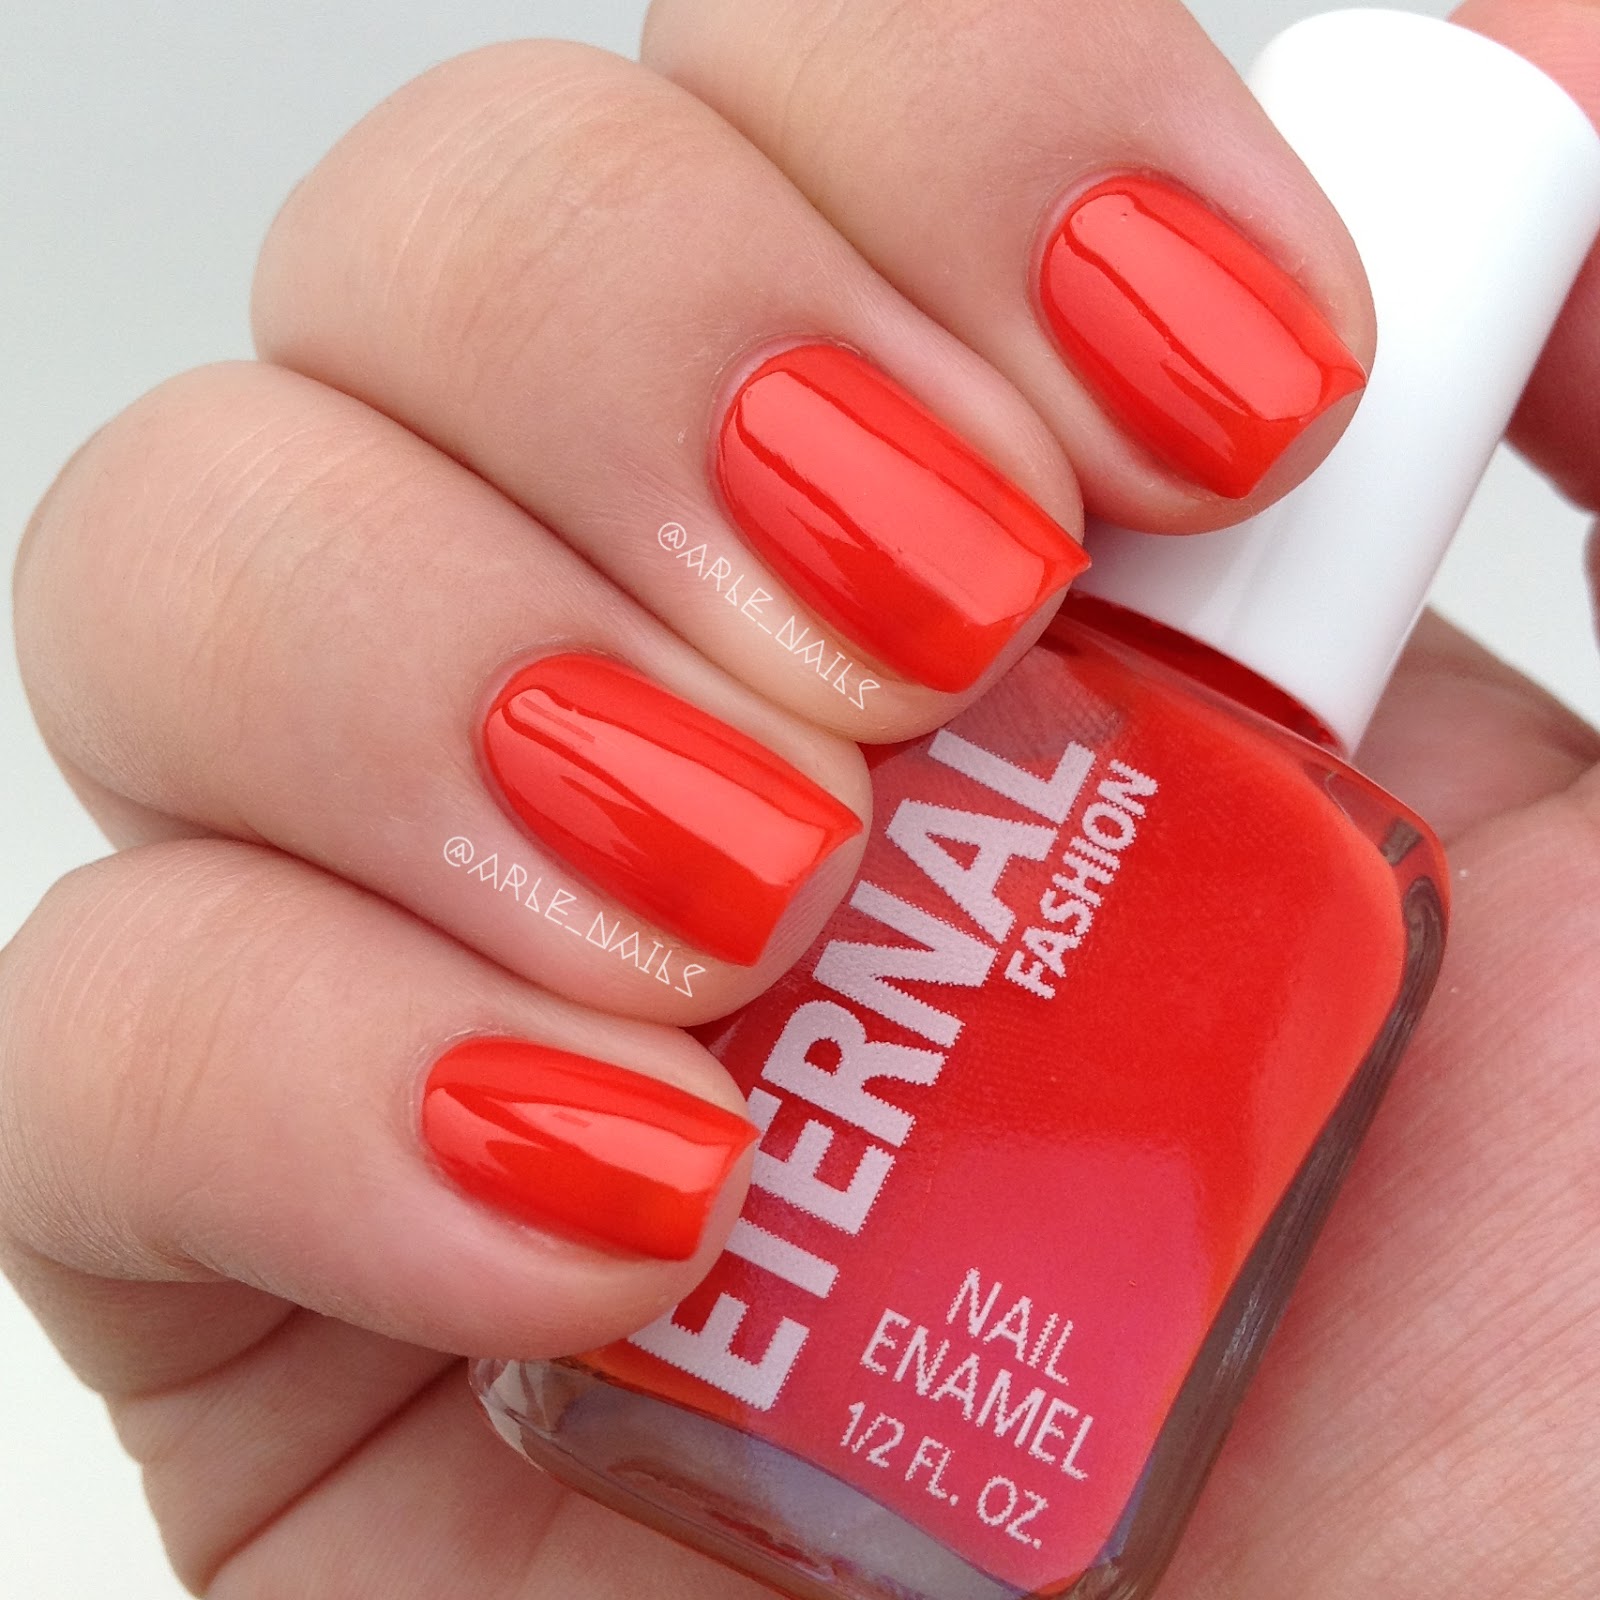
SHOW OFF is the one I wanted to try first.


You get 16 Real Nail Polish Strips to find the best fit
for your nails and instructions. I recommend watching the HOW TO video.


The after math! I'll add that the little file and orange stick specially, made
it super simple to make sure the strips were a perfect fir.


And here they are, it wasn't hard to apply them to my dominant hand either.


Day 2 and still looking good!


I used the Polish Removal Cloth they sent me and I have to say it being red shocked me.
This works great because it has a texture to it and sort of scrubs the polish away. Any polish remover and cotton will work too, the strips are nail polish after all.


Clean Nails.


Now for the best part the GIVEAWAY!
 
Rules: Most be following my blog or my IG account @arle_nails
1. Visit the INCOCO website.
2.Find your favorite shade.
3. Write the Name of the shade in the comments.
 
The Giveaway will end on September 21st.


Sunday, February 17, 2013

Nail Care #1

                   Hey guys so I'm finally posting part of my nail care routine. I'll just get to it!


To remove my nail polish I use cotton rounds that I cut in half and for a while now I have stayed away from pure acetone. This brand of polish remover is actually sold at the DollarTree and its awesome. This part is really up to you, whatever you use really tends to have not much of a difference but do keep in mind that pure acetone is very drying.


To file my nails I use these 2 nail files and buffer. This too is up to you, whatever you like and works for you is fine.
 
 
This is right after me removing polish and filing my nails down a bit because of a break on my pinkie. Look at how my cuticles they look a bit dry and overgrown but the next step will help with that.


Next step is to push my cuticles back and use the Cuticle Eliminator. Right after I wash my hands and scrub a bit with my Little Panda Brush.


So I put this on and wait 5 secs and them start to push my cuticles back. This stuff is awesome you can find it at Sally's or you can use the one you prefer its up to you. I stoped cutting my cuticles a while back and this bottle has lasted me all this time. At first I would use this like every other day because I was so use to cutting them, but now I only do this once a week or not even.


This is right after washing my hands and scrubbing my nails with the brush. I dont know if the photos really show the difference beteween the before and after.


Now its time for a good rich handcream. This is super importart if you want healty nails and hands. These are some of the ones i use and love.


After applying handcream. So I leave this on for about 2 hours then wipe my nails with alcohol before polishing them.


I really hope this is of some use for you girls. Let me know of anyting you want to know. ASK AWAY.


Sunday, February 3, 2013

ETERNAL Fashion Review + JellySandwich Mani

So if you follow me on IG you know that I got 3 ETERNAL Fashion nail polishes yesterday. I found these at Navarro Pharmacy its a Hispanic Store and they were only $1.49! I loved the price but more than anything the colors and the formula, I'll be back there for more very soon. Sadly these babies don't have names but instead and ID # so that's what I'll be calling them.


This is what I use as my base and topcoat when I do my swatching, even sometimes when I do my nails, depends what's closest!(this ColorClub topcoat dries super fast!!)


So here they are, I put their "name" on the caps so you know who is who!


This is the orange/pink goodness of 79E. This polish was almost a one coater and that in itself is a huge plus in my book!(I have 2 coats on) 


Another photo of 79E.


And last one!


This is 13E a loud tangerine almost jelly polish. It went on like a dream and it dries super shinny almost doesn't need a topcoat!( I have on 2 coats)


Another look at 13E.


Now we have 59E, I have to say this is my favorite of the 3! Its a super pale pink jelly with shimmer that is undetected in photos but in person looks amazing!(I have on 3 coats)


Another looks at 59E.


And YES I had to see how a jellysandwich would look with 59E so over it I put 1 thin coat of Trust Fund Baby by Spoiled and then 2 more coats of 59E.


So what do you thing about these? Like any of the colors?


Saturday, February 2, 2013

That One Nail Polish


Hey guys so it’s been while, but I’m back! Today I’m reviewing four polishes that Roxette from That One Nail Polish sent me. You can find these on her SHOP they are $8 each. I recommend all of these, they apply great and are so unique!!
 
First is Wipe Out I just LOVE the huge blue hexs, it looks great with the smaller black ones. My base color is Sand Blast by Bettina.


Ready Set Hex! is just full of awesome hexs glitters. There are such cute colors that compliment each other. My base is Mint Apple by Sinful Colors. 


Love Me Tender is full of light pink and red glitters. This is perfect for Valentines Day. My base is Paloma by DareToWear.


Anna Bella is a frosty base full of red and black hexs and black bars. Its super cute and delicate looking, another one perfect for Valentines Day. My base is Sweet Heart by OPI.


What do you think about these cuties?


Friday, December 21, 2012

Christmas Mani Idea #2

Hi guys, so this mani is inspired by a Christmas Ornament, a red ball with gold glitter only on the top. I used red but you can substitude it for any color and also the glitter for any other glitter color.


Make sure to use a good Basecoat, reds can stain your nails really bad.


This Vodka and Caviar by OPI. (2 coats)


I used a Gold Glitter stripper polish for this nail art. All you need to do is dab some of this on the tip of your nail and then drag it up half way up your nail.


(outside Sunlight)


Thursday, December 20, 2012

Christmas Mani Idea

Hi girls, hope all of you are doing good. This is the first of 3 to 4 post that I'll do with Christmas Mani Ideas. This is very simple but extremely cute too!!


All I used for this mani.


First step is applying a Base Coat.


Then I put 2 coats of Exotic Green by Sinful Colors.


Over Exotic Green I applied 1 coat of My Favorite Martian by Confetti.


Added then 1 thin coat of Pinata-yada-yada by Ulta, its full of different colors and size glitters.


(Photo taken outside)


(Photo in Sunlight)


(a little close up)


Hope you find some inspiration whit this all the other mani I'll be posting later this week.


Tuesday, December 18, 2012

Easy Glitter Removal

 YAY I'm back, so sorry I was MIA for 2 weeks. I was having computer issues and when I tried to post from my phone and iPad it was a disaster! BUT I'm back with lots of post ideas (so that's good right?).

Today I'll be sharing with you an easy way to remove glitter polish, easier and less of a hassle than the foil method. While the foil method is a great way to remove glitter polish it has its down side. It makes your nails and cuticles dry because of the exposure to acetone, also the foil preventing ventilation adds to that. I found that my fingers got really hot every time I would remove glitter that way. All things aside the foil method is a genius and super effective way to remove glitter polish hands down.

I stumbled upon another way to get rid of your glitter polish. This method starts at the base of your mani, using Elmer's Glue as a base coat. Now some things you need to make sure you do:

1. Use NON TOXIC Elmer's Glue.
2. The Elmer's Glue base has to be put onto your bare nails.
3. The glue has to dry completely before you start to paint your nails.
4. Only use the Elmer's Glue on nails that you will be adding glitter to.


TIPS:

1. I put my Elmer's Glue into an empty SechVite bottle, you can use any nail polish bottle that is empty or almost empty.
2. Make sure you clean the bottle and brush really good with pure acetone before you add the glue.
3. When applying the glue on your nail put a thin coat on, you don't need a too much of it on your nail.
4. Make sure you have something to do while you wait for the glue to dry or else it will feel like forever.


Here are the photos.


One Coat of the Elmer's Glue.


5 Minutes after applying it. Half way to being dry.


10 minutes after applying it, completely dry.


Added my Rejuvacote Base Coat over the already dry glue base. this is to prevent staining.


2 coats of my base polish, this is Psychedelic Scene by Color Club.


1 coat of Klean Color's Grand Finale, bar shaped holo glitter.


2 coats of Gelous Top Coat.


(Sun Light)


(in doors) This dark out of focus photo is so you can see the holo glitter.


To remove them you lift the polish from the side with an orange stick. Make sure to be gentle,then just peel it off. It should come off in one piece.


There will be some stuff left on the side of your nails and remover will take care of that.


So what do you think? Will you be trying this out?